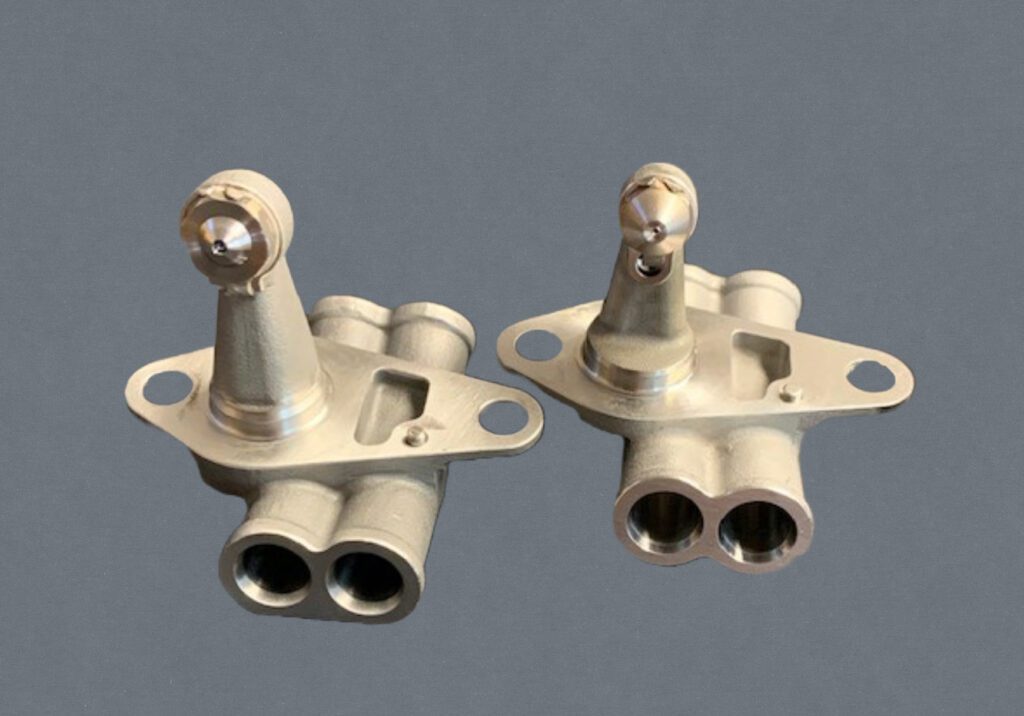
Fuel Nozzles series Part - Removal
Removal of Nozzles
The removal of nozzles process is much like any other procedure related to the meticulous care of your PT6A engines, it should be done with proper care and while paying particular attention to detail. Again, we will insist that you always consult the appropriate Maintenance Manuals and whenever needed, consult the appropriate shops for repair.
Part of being careful is to ensure that your Glow Plugs are not removed at the same time as the nozzles. Doing this could cause the outer combustion liner to be misaligned. When a misalignment does occur your large exit duct and combustion liner might no longer line up at the seams. This can be tricky to fix and may involve splitting the case and putting the whole thing back together, which will add extra time and steps that can alternatively be avoided.
Pro-tip 1: Its usually a good idea to mark the position of your nozzles relative to the engine itself. If ever there is an issue down the line, you will surely thank us for that tip. A simple sharpie marker will do the job nicely, or if the nozzle is too greasy to mark then just bag it and mark the bag.
Pro-tip 2: Its crucial to keep records of the engine serial numbers that your nozzles are removed from. Each set must have traceability for record keeping purposes. No traceability can mean stiff penalties on exchange cores, or even for when trying to sell your engine down the line. Having traceability on each and every component is a critical part of maintaining your engine’s value.
The removal procedure itself is relatively simple for the experienced mechanic.
- Remove the safety wire;
- Remove the fasteners (bolts or nuts);
- Slide out the transfer tubes (use the nozzle adapter located right next to it); and
- Remove the nozzle and sheath assemblies from the engine itself.
When working on step 3 or anything related to the transfer tubes, it’s vital to remember that these are usually made of aluminum and are extremely sensitive. They can bend easily, and bending will lead to issues including leakage, which is not an ideal situation.
Pro-tip 3: If you’ve ever played pool or billiards, you’ve likely tested out how straight your cue stick is by placing it on the table and rolling it. The same idea can be used here to test how straight your transfer tubes are. Place them on a clean and dry surface and roll them to see if they sway in an abnormal fashion. You want that tube to roll nicely and smoothly on that surface. If there is any abnormality there, you’re going to want to replace it.
With that being said, we highly discourage the use of stronger tools such as pliers, vice grips, screwdrivers, and the like since the risk of damage is elevated. When an engine is ready for take-off the pressure being provided for the engine can be anywhere from 450 to 600psi. So we definitely want those nozzles and tubes to be in tip-top shape at all times. For more detailed recommendations on what tools we would suggest contacting our Technical team member Fernand, and he’ll be pleased to chat and provide his insights.
We also recommend you to consult with the support staff over at P&WC if you any doubts.

